How to Quickly Fix a Leaky Washing Machine Hose
Table of Contents
- Why Do Washing Machine Hoses Leak?
- What You’ll Need
- Step-by-Step: Leaky Washing Machine Hose Fix
- When to Call a Professional
- Preventing Future Leaks
- Final Thoughts
Why Do Washing Machine Hoses Leak?
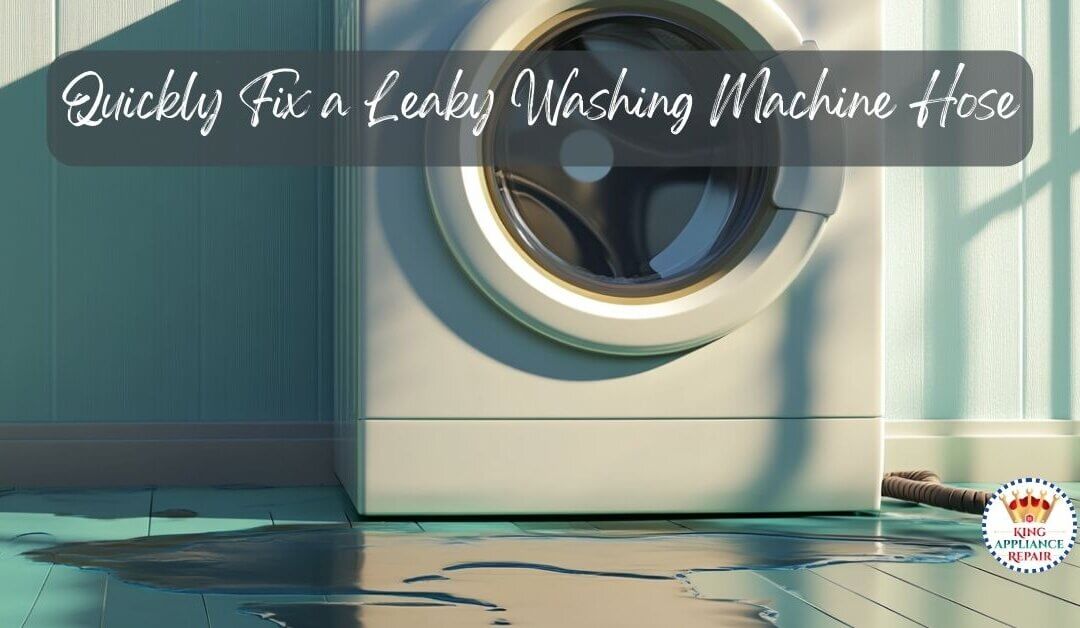
A leaky washing machine hose is a common problem. It can happen because the hose is old, cracked, or not screwed in tightly. If water is dripping behind your washer, it’s a good idea to check the hoses right away. If not fixed quickly, it can cause water damage to your floor or walls.
What You’ll Need
Here are some simple tools you’ll need before starting your washing machine hose repair:
- Adjustable wrench or pliers
- Bucket or towels (to catch water)
- New washer hose (if needed)
- Teflon tape (optional)
- Flashlight
Step-by-Step: Leaky Washing Machine Hose Fix
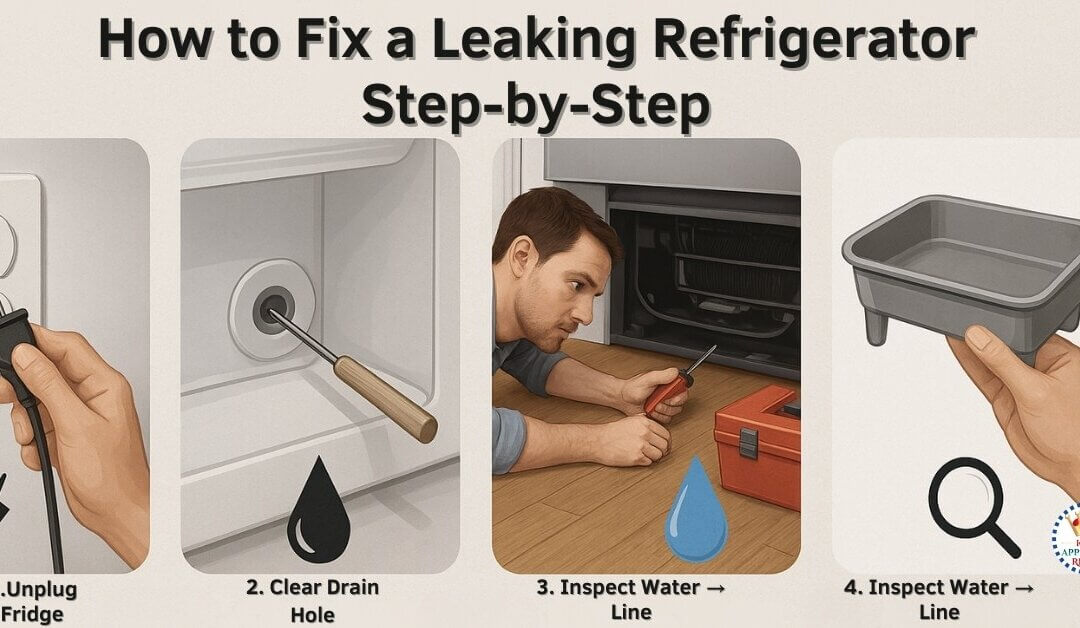
Step 1: Unplug and Shut Off Water Supply
Always unplug the washer first. Then, turn off the hot and cold water valves behind the machine to stop water from leaking more.
Step 2: Look at the Hoses
Move the washer away from the wall a little. Use your flashlight to check the hoses. Look for cracks, bulges, or rust. If you see damage, it’s time to change the hose.
Step 3: Tighten Loose Hoses
Use your wrench to tighten the hose connections. Don’t make them too tight—just snug enough so they don’t leak.
Step 4: Replace the Hose (If Needed)
If the hose is damaged, follow these steps:
- Put a bucket or towels under the hose to catch water.
- Unscrew the old hose from both ends.
- Wrap Teflon tape on the threads if you want a better seal.
- Screw on the new hose tightly.
Tip: Use stainless steel braided hoses if possible. They last longer than rubber ones.
Step 5: Turn the Water On and Test
Slowly turn on the water. Look for leaks. If all is dry, plug the washer back in and run a short cycle to test it. If there’s no leak—good job! You just finished your leaky washing machine hose fix.
When to Call a Professional
If the leak keeps happening even after replacing the hose, it might be a bigger issue inside the machine. That’s when it’s time to call the experts.
King Appliance Repair Company in Ottawa is here to help. We fix all washer problems and offer same-day service. Our pros can also help if your washer won’t spin, or if you’re dealing with a clogged washing machine drain.
Preventing Future Leaks
Here are easy tips to stop leaks before they start:
- Check your hoses every 6 months.
- Replace them every 3–5 years.
- Use steel braided hoses for better safety.
Thinking of buying a new washer? Check out our guide on front-load vs. top-load washing machines.
Final Thoughts
Fixing a washing machine hose leak is easier than you might think. With just a few tools and 15–30 minutes of your time, you can stop the leak and avoid a big mess.
Still need help? Reach out to King Appliance Repair Company today. We’re local, reliable, and ready to help you get back to clean laundry—fast!
Need urgent help?
📞 Call: 613-699-1999
🌐 Visit: kingappliancesrepair.ca
🛠️ Trusted. Local. Reliable.