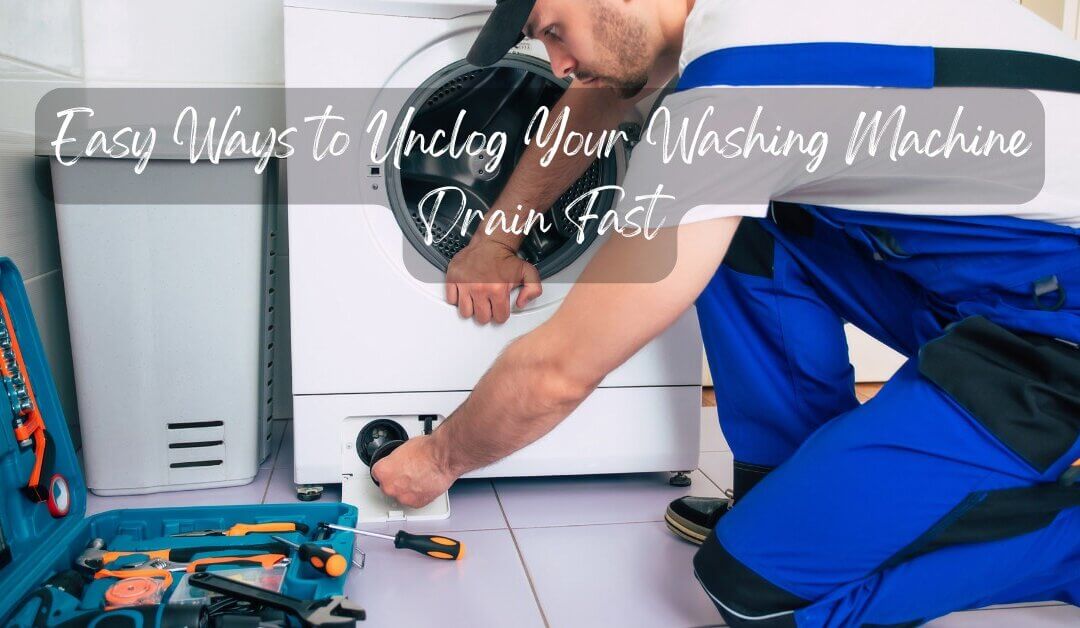
Easy Ways to Unclog Your Washing Machine Drain Fast
Table of Contents
- Introduction
- Why Washing Machine Drains Get Clogged
- Signs of a Clogged Drain
- Steps to Unclog Your Washing Machine Drain
- Maintenance Tips to Prevent Future Clogs
- When to Call a Professional
- Conclusion
Easy Ways to Unclog Your Washing Machine Drain Fast
A washing machine that will not drain can be a big headache. Dirty water may stay inside the drum, making your clothes soggy and your laundry room messy. The good news is that you can often fix this problem yourself, even if you are not a repair expert. In this article, we will show you simple ways to unclog washing machine drain lines quickly, so you can get back to your normal laundry routine without too much trouble.
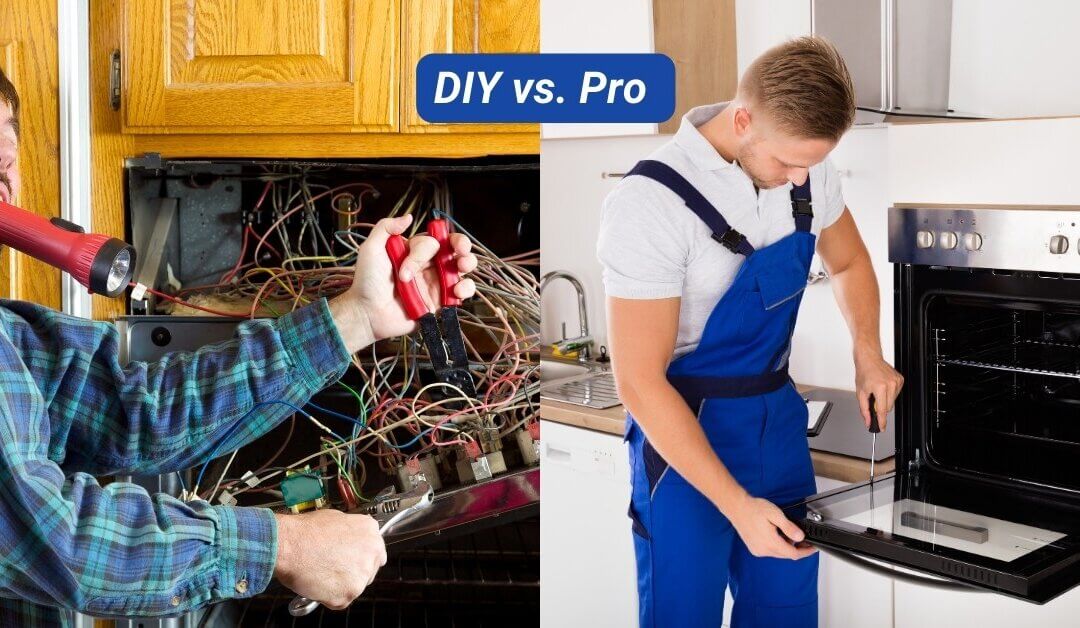
We will also share tips on how to avoid clogs in the future. If you would like to learn more about fixing appliances on your own, or when it is best to call a professional, check out our helpful guide on
DIY vs Pro Appliance Repairs: What You Need to Know.
Why Washing Machine Drains Get Clogged
Over time, lint, dirt, and small items can build up inside your washing machine’s drain system. These things might come from pockets (like coins or hairpins), or they can come from fibers that break off clothes. When too much gunk collects, water cannot flow out of the machine properly.
In some cases, bigger objects, like socks or small towels, can get stuck in the drain hose or drain pump. This will cause a washing machine drainage problem. Understanding the main causes of clogs can help you avoid them in the future.
Signs of a Clogged Drain
It can be easy to tell when you have a washing machine not draining water as you will see water still in the drum at the end of a cycle. However, there are other signs, too:
- Slow Draining: The water leaves the drum, but very slowly.
- Foul Smells: Stale water can sit in the hose or filter, causing bad odors.
- Gurgling Noises: Strange sounds can mean the water is fighting against a blockage.
- Leaks: Water may spill out onto the floor if the drain is blocked.
If you see any of these clues, you likely need to learn how to fix a clogged washer drain before it gets worse.
Steps to Unclog Your Washing Machine Drain
1. Turn Off and Unplug Your Washer
Safety always comes first. Switch off the power and unplug the machine. If you have a front panel or an access door, open it up so you can reach the drain pump or filter.
2. Locate the Drain Pump Filter
Many washers have a small door near the bottom front. Behind this door, you will find the drain pump filter. This filter often catches coins, lint, and other small objects. Carefully remove the filter and pull out any debris you see. Have a towel or bowl ready to catch water that might spill out.
3. Check the Drain Hose
If cleaning the filter does not help, the next step is to clear washing machine drain hose blocks. Move the washer away from the wall, then find the hose that drains water out. You can use pliers to gently loosen the clamp that holds the hose in place. Once the hose is off, look inside for any clogs.
If you find clumps of lint or small objects, remove them by hand or with a small brush. For stubborn clogs, you can use a drain snake or a similar tool to pull out the blockage.
4. Reattach and Test
After you are sure the hose is clear, put everything back in place. Make sure clamps and fittings are tight to stop leaks. Plug the washer back in and run a quick rinse cycle to see if the water now drains properly.
If your washer still does not drain, the drain pump itself might be the problem, or a part could be broken. You might want to consider professional help, such as
Washer Repair Ottawa services, if you live nearby.
Maintenance Tips to Prevent Future Clogs
Keeping your washer free of clogs is not hard if you follow simple steps:
- Clean the Filter Regularly: Check the pump filter at least once a month.
- Empty Pockets: Before loading clothes, make sure no small items are inside pants or jacket pockets.
- Use Good Detergent: High-quality detergents leave less residue behind. This helps prevent blockages.
- Run Hot Water Cycles: From time to time, run a hot wash (with no clothes) to break down soap and dirt buildup.
- Leave the Door Open: After each wash, keep the washer door or lid slightly open so the drum dries and smells stay away.
For more appliance care ideas, check out our post on freezer maintenance tips. You can also learn how to replace a worn-out oven light quickly if you want to keep your kitchen gear in top shape.
When to Call a Professional
If you have tried everything and your washing machine drain is still clogged, it is probably time to call an expert. Deeper or more complex issues may need special tools or replacement parts. A qualified repair technician can check your washer and fix whatever is wrong.
For instance, if you have issues with your dryer as well, you might want to learn
how to safely remove lint from your dryer vent. Preventing clogs in all your appliances can save you from big problems later.
Deciding between a do-it-yourself fix and a pro service can be tough. If you are unsure, you can read our guide on DIY vs Pro Appliance Repairs: What You Need to Know to help you make the right choice.
Conclusion
A clogged washer can cause stress, but you can often fix it yourself by finding and removing built-up lint, dirt, or small items. By learning how to unclog washing machine drain lines and taking simple steps to avoid future clogs, you will keep your washer running well.
Remember to clean filters, check hoses, and run a hot cycle every so often. If your machine still will not drain or if you suspect a bigger problem, it may be best to contact a professional. Keeping your appliances in good shape can help you save time, money, and frustration in the long run.