Table of Contents
- Introduction
- Why Replacing an Oven Light Matters
- Safety Steps
- Step-by-Step Guide
- Extra Tips
- When to Call King Appliance Repair Company
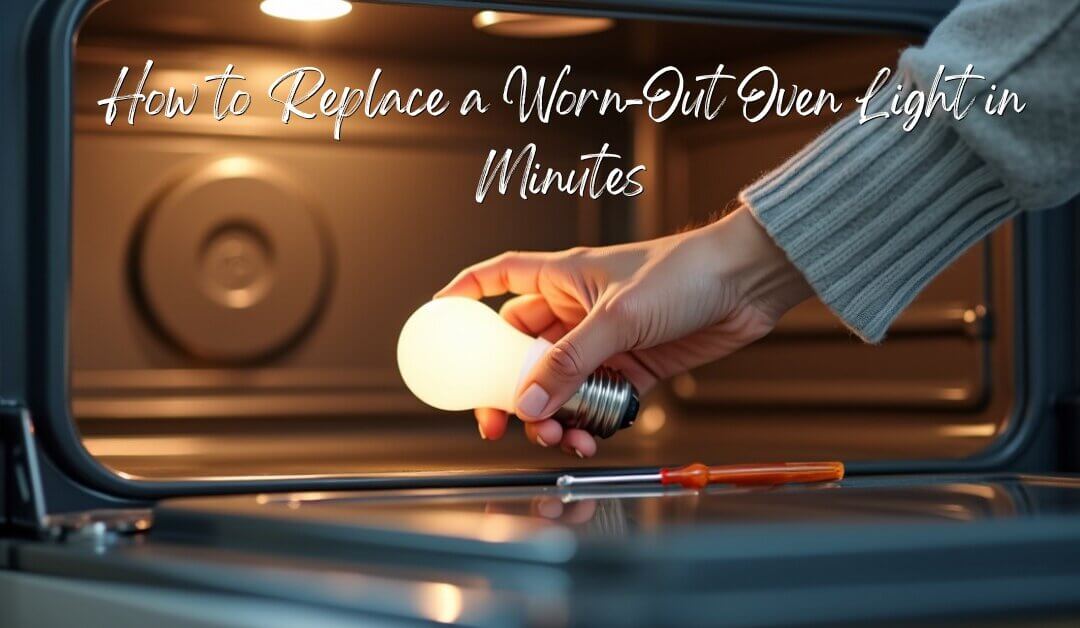
How to Replace a Worn-Out Oven Light in Minutes
Learning how to replace a worn-out oven light can make cooking much easier. When your oven light stops working, you may open the oven door more often to check on your food. This lets heat escape, which can affect cooking times. The good news is that fixing the oven light bulb is a simple task. In this guide, we will show you how to do a quick DIY oven light replacement safely and easily.
Why Replacing an Oven Light Matters
Your oven light helps you check your food without opening the door. If the bulb is burned out, you might risk overcooking or under-cooking your meal. Replacing the bulb also helps you save energy because you won’t have to open the door as often. Best of all, you can replace the oven light quickly using simple tools.
Safety Steps Before You Start
- Turn Off Power: Switch off your oven at the control panel. If possible, unplug the oven or turn off the breaker for extra safety.
- Let It Cool Down: Make sure the oven is completely cool to avoid burns.
- Use the Right Bulb: Check your manual to find the correct high-heat bulb for your oven.
- Wear Gloves: Gloves or a clean cloth will protect your hands and keep oils off the bulb.
Step-by-Step Guide to Change the Oven Bulb Safely
- Find the Light Cover: Look inside your oven, usually at the back or side. You will see a small cover made of glass or plastic.
- Remove the Cover: Gently twist or unclip the cover. If it is stuck, try a rubber glove for a better grip. Do not force it too hard.
- Unscrew the Old Bulb: Turn the worn-out bulb counterclockwise. Be careful not to break it.
- Install the New Bulb: Screw in the new high-heat bulb. Make sure it is snug, but do not over-tighten.
- Put the Cover Back: Line up the cover and twist or clip it into place.
- Test the Light: Turn your oven power back on and switch on the light to check if it works.
Extra Tips for an Easy Oven Light Repair
- If your new bulb does not work, double-check that the oven is plugged in and the bulb is the right type.
- Use gloves or a cloth when handling the bulb to avoid touching it with your fingers.
- Check your oven manual for any special instructions about your model.
For more helpful appliance tips, check out these articles:
- How to Fix a Refrigerator Door That Won’t Close Properly
- 5 Proven Freezer Maintenance Tips to Save Energy and Money
- Convection vs Traditional Oven: Which Is Best for You?
- Oven Repair Ottawa
- Best Energy-Efficient Dishwashers: Save Money and the Planet
When to Call King Appliance Repair Company
Most of the time, this easy oven light repair will fix your problem. But if your oven light still does not work or you suspect an electrical problem, it is best to call a professional. The team at King Appliance Repair Company can help check your oven, replace any faulty parts, and make sure everything is safe. That way, you can bake, roast, and broil without worry.
By following these steps on how to replace a worn-out oven light, you will soon have a bright oven once again. Enjoy stress-free cooking and a clear view of your delicious meals!